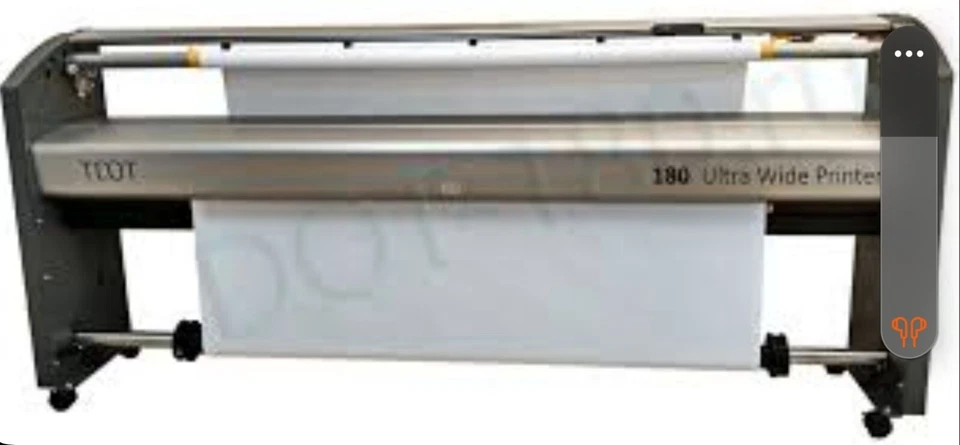
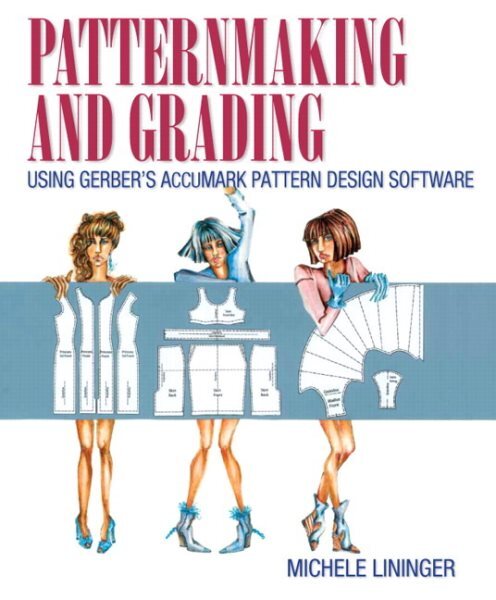
Mastering Garment Pattern Making is a fundamental skill for anyone interested in creating custom clothing designs. Understanding the principles of pattern-making is essential for translating design ideas into wearable garments that fit well.
This comprehensive step-by-step guide will take you through the intricate process of garment pattern making, from the basics of measurements and drafting tools to advanced techniques for manipulating patterns and achieving a perfect fit. Whether you are a beginner looking to learn the basics or an experienced designer seeking to refine your skills, this article will provide valuable insights and practical tips to enhance your pattern-making expertise.
Read; How to Style Your Wardrobe: Tips for Every Season
Patternmaking for Fashion Design by Helen Joseph Armstrong $34.90
Introduction to Garment Pattern Making
The Importance of Pattern Making in Garment Construction
If you've ever tried to sew a garment without a pattern, you know the struggle is real. Garment pattern-making is like the blueprint for your fashion masterpiece. It's the essential foundation that ensures your clothes fit like a dream.
Overview of the Pattern-Making Process
Pattern-making is like the secret sauce of the fashion world. It involves creating templates that guide you in cutting and stitching fabric to make clothing that fits well and looks fabulous. It's a mix of math, art, and a touch of magic that turns your design ideas into wearable reality.
Understanding Pattern Drafting Tools and Techniques
Essential Tools for Pattern Making
Forget hammers and saws, a pattern maker's toolkit includes goodies like rulers, curves, and tracing paper. These tools help you draft precise lines and shapes to bring your design to life without a hitch. Think of them as your fashion design sidekicks.
Techniques for Accurate Pattern Drafting
Pattern drafting is like the fashion designer's version of solving a puzzle. It requires attention to detail, patience, and a sprinkle of creativity. Techniques like slash and spread or pivoting can help you manipulate patterns like a pro and create garments that fit like they were made just for you.
Taking Measurements and Creating Basic Blocks
Key Body Measurements for Pattern Making
Measure twice, cut once – the golden rule of pattern making. Understanding key body measurements like a bust, waist, and hip circumference is crucial for creating patterns that hug your curves in all the right places. It's like custom-tailoring your clothes before even picking up the fabric.
Creating Basic Blocks for Different Garment Types
Basic blocks are like the building blocks of your wardrobe. These simple, fitted patterns serve as the foundation for creating various garment styles. Whether dreaming of a flowy maxi dress or a tailored blazer, mastering basic blocks is the first step to sewing up a storm.
Drafting and Manipulating Pattern Pieces
Transferring Measurements to Paper
Once you've got your measurements just right, it's time to transfer them to paper. This step is like sketching out the blueprint for your garment, ensuring every seam and curve is in its rightful place. It's the stage where your design truly starts to take shape.
Manipulating Basic Blocks to Create Variations
Variety is the spice of life – and fashion! By manipulating basic blocks, you can create endless variations of your favorite styles. Want a top with a different neckline or a skirt with a flared hem? With a little pattern manipulation magic, the possibilities are as vast as your imagination.# Fitting and Adjusting Patterns
Common Pattern Fitting Issues
Have you struggled with weird wrinkles or mysterious bulges in your garments? You're not alone. Common fitting issues like gaping necklines, tight armholes, or baggy backs can leave you scratching your head. But fear not, mastering the art of pattern-making means knowing how to tackle these challenges head-on.
Techniques for Adjusting Patterns for a Perfect Fit
From the swayback adjustment to the full bust alteration, there's a whole arsenal of techniques to help you achieve that flawless fit. Learn how to tweak your patterns like a pro and say goodbye to ill-fitting clothes for good.
Adding Details and Finishing Touches
Incorporating Design Details into Patterns
Details make all the difference! Whether it's adding pleats, pockets, or ruffles, knowing how to incorporate design elements into your patterns can take your garments from basic to beautiful.
Finishing Techniques for Professional Results
Seam finishes, hemming tricks, and pressing tips - these are the finishing touches that elevate your sewing game. Discover the secrets to achieving that polished and professional look in your handmade creations.
Tips for Efficient Pattern Making
Organizational Tips for a Smooth Pattern-Making Process
Let's face it, Pattern-making can get messy quickly. But with the right organizational hacks, you can keep your workspace tidy and your sanity intact. Say goodbye to lost pattern pieces and chaos, and hello to a streamlined pattern-making process.
Time-Saving Techniques for Complex Patterns
Do you have a complicated pattern that's giving you a headache? Don't panic! With a few clever time-saving techniques up your sleeve, you can tackle even the most intricate designs with ease. Learn how to work smarter, not harder, and watch your pattern-making skills soar.
Advanced Techniques and Resources
Advanced Pattern Manipulation Techniques
Ready to take your pattern-making to the next level? Dive into advanced techniques like slash and spread, grading, and draping to unlock creative possibilities. Your patterns will never be the same again!
Additional Resources for Further Learning and Inspiration
The journey to mastering garment pattern-making is a never-ending one. Luckily, there's a treasure trove of resources to help you expand your skills and keep the inspiration flowing. From books and online courses to pattern-making software, the world is your oyster. Dive in and discover a whole new world of pattern-making possibilities.
In conclusion
Mastering garment pattern-making requires patience, precision, and a keen eye for detail. With the step-by-step guide outlined in this article, you can develop the skills necessary to create custom-designed garments that fit beautifully and showcase your unique style. Whether a hobbyist or a professional designer, honing your pattern-making skills will open up a world of creative possibilities in fashion design. Embrace the art of pattern making, experiment with different techniques, and continue to refine your craft to bring your fashion visions to life with confidence and expertise.


